How to Create a Stunning Wedding Photo Album
Introduction
Your wedding day is filled with unforgettable moments, and creating a beautiful photo album is the perfect way to preserve these memories. A well-designed album tells the story of your day from start to finish. Here’s how to create a stunning wedding photo album that you’ll cherish forever.
1. Choose Your Favorite Photos
The first step in creating a wedding album is selecting your favorite photos. Here’s how to do it:
- Review All Photos: Go through all the photos taken by your photographer. Take your time to relive the moments and note down your favorites.
- Variety: Choose a variety of photos, including candid shots, portraits, and details. This will make your album more interesting and complete.
- Highlight Key Moments: Include key moments like the ceremony, first kiss, first dance, and family portraits.
2. Organize by Sections
Organizing your photos by sections helps tell the story of your day. Here are some common sections to consider:
- Getting Ready: Start with photos of the bride and groom getting ready. This sets the scene and builds anticipation.
- The Ceremony: Include photos of the venue, guests arriving, the bridal party, and the ceremony itself.
- The Reception: Capture the reception venue, decorations, speeches, and dances.
- Special Moments: Don’t forget to include special moments like cutting the cake, the bouquet toss, and candid guest photos.
3. Tell a Story
A great wedding album tells a story from beginning to end. Here’s how to achieve that:
- Chronological Order: Arrange the photos in chronological order to reflect the flow of the day.
- Mix of Wide and Close-Up Shots: Use a mix of wide shots to set the scene and close-ups to capture emotions.
- Captions: Add captions or short descriptions to highlight special moments or explain the context of certain photos.
4. Choose a Layout
The layout of your album is crucial for its overall look. Here are some tips:
- Consistent Style: Choose a layout style and stick with it throughout the album for a cohesive look.
- White Space: Don’t overcrowd the pages. Leave some white space to give the photos room to breathe.
- Balance: Balance pages with a mix of single large photos and collages of smaller photos.
5. Select the Right Album
There are many types of wedding albums available. Here’s how to choose the right one:
- Size: Consider the size of the album. Larger albums allow for bigger photos but are heavier and take up more space.
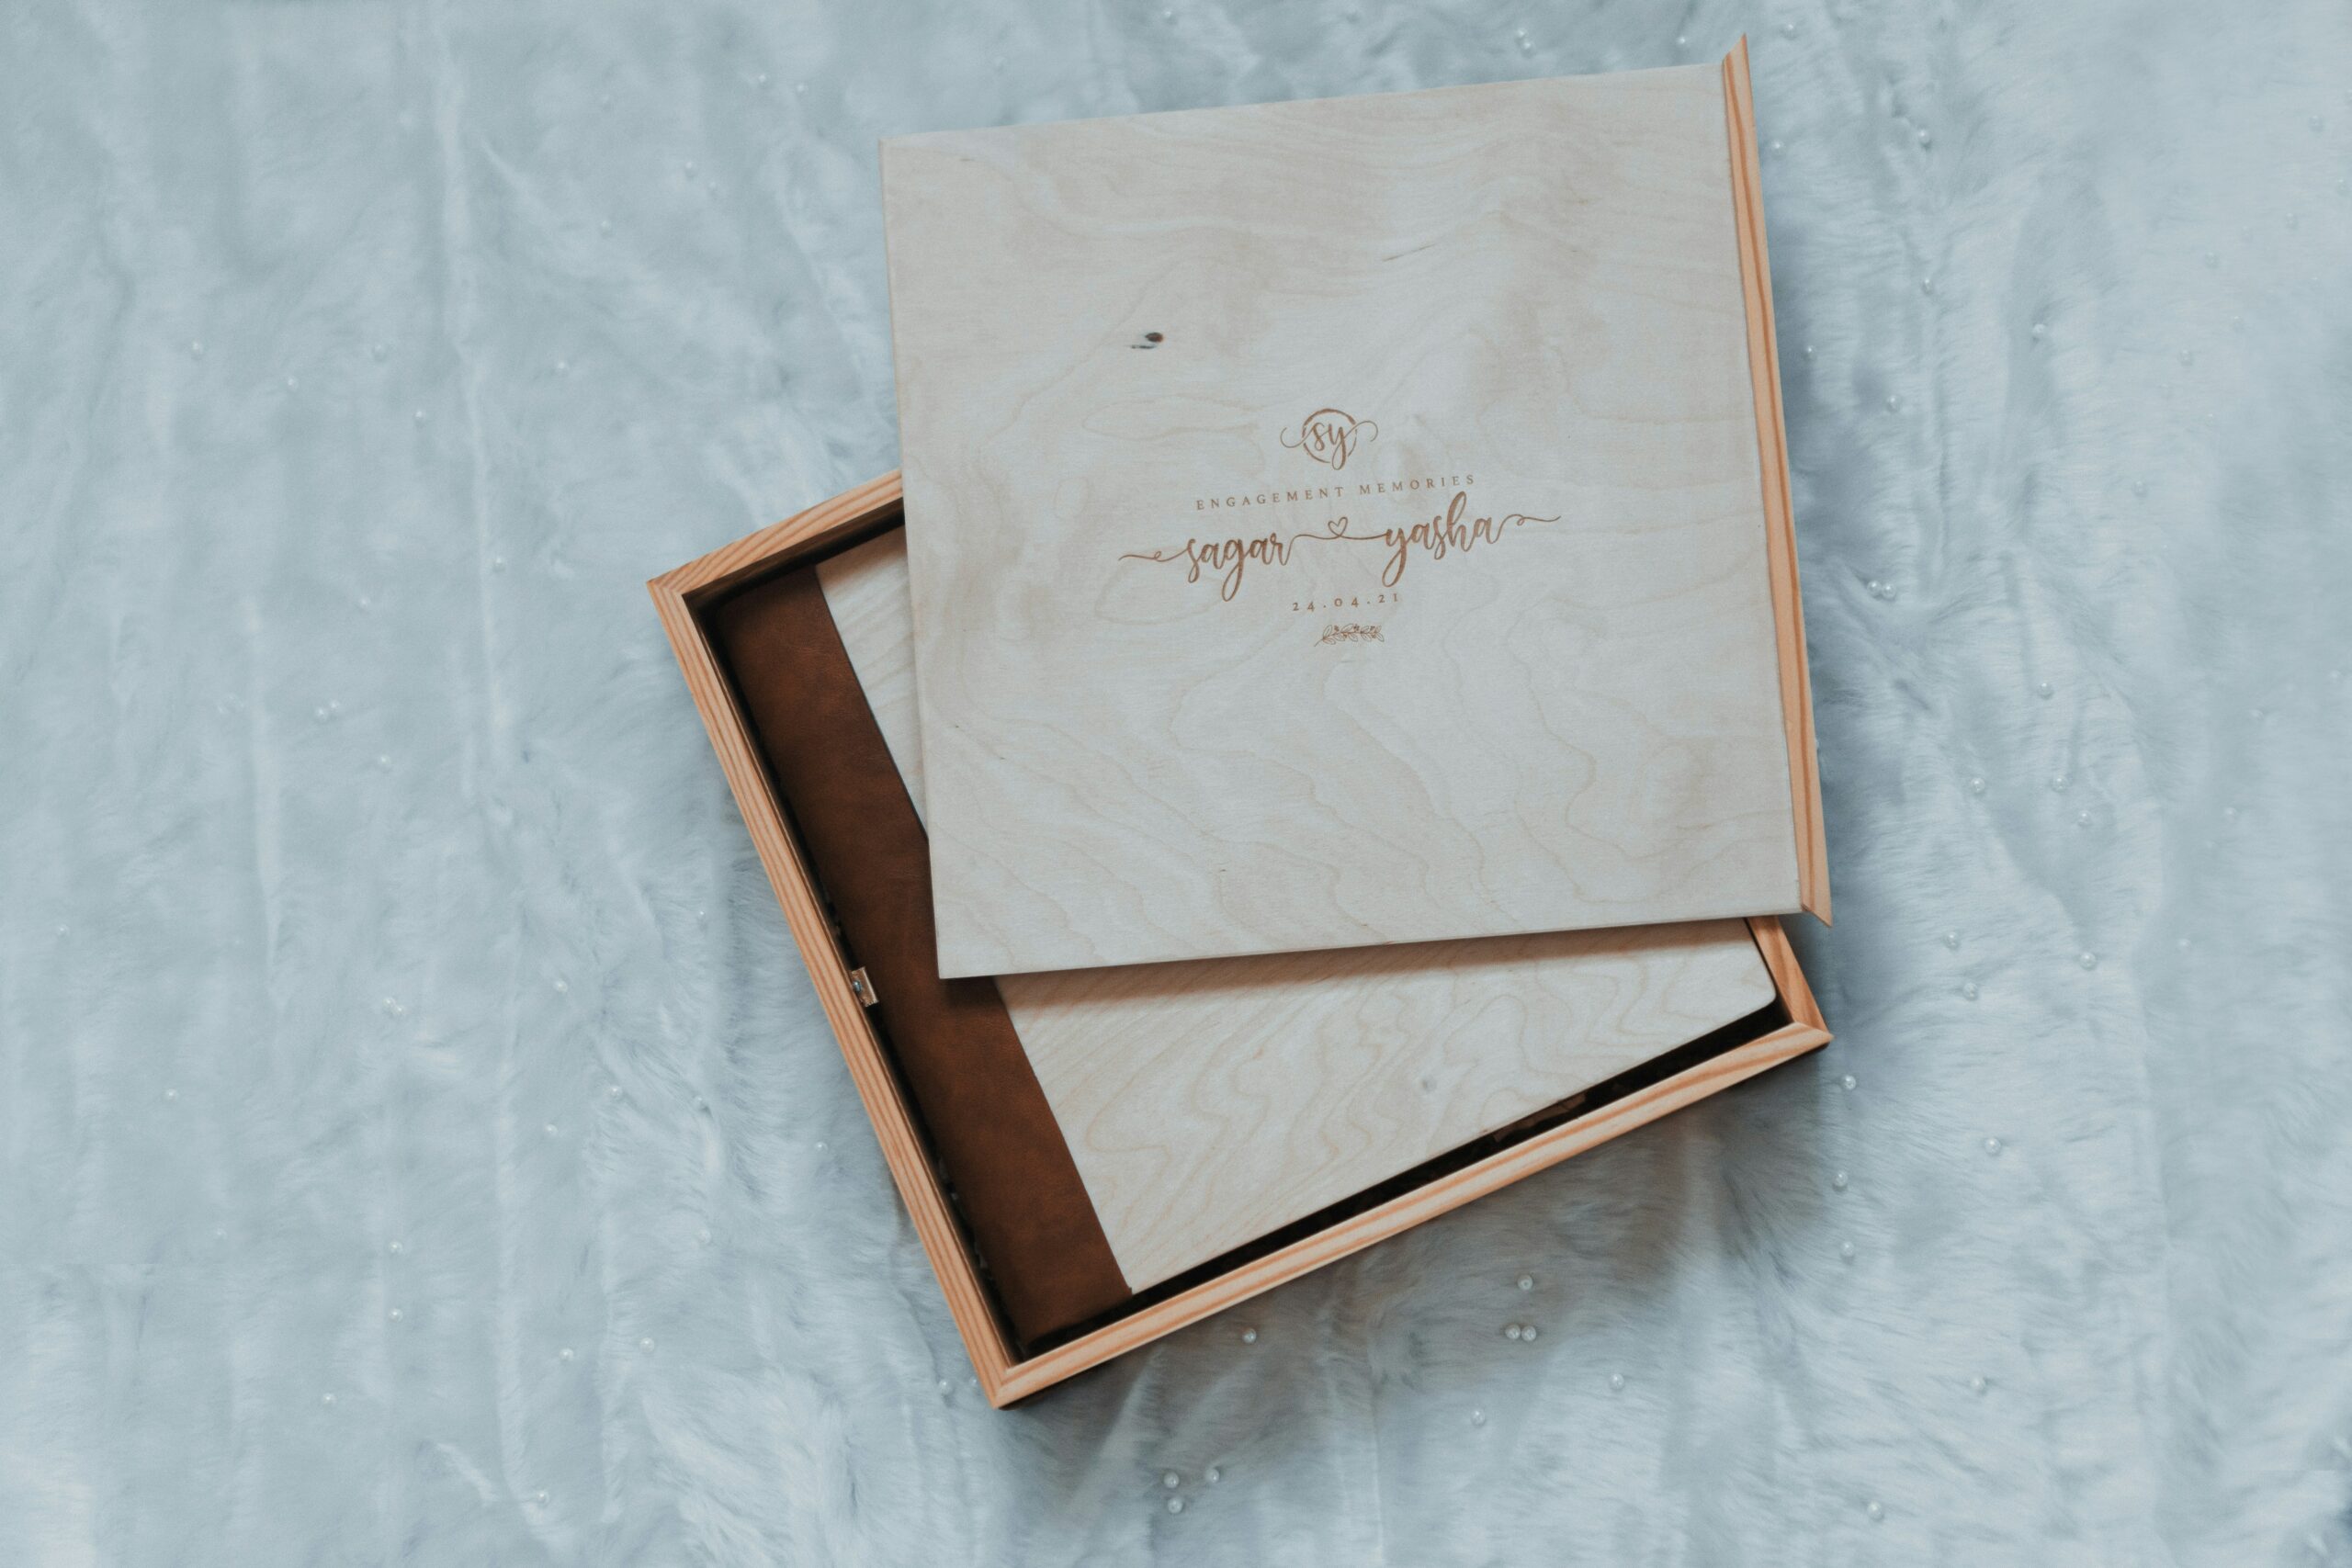
- Material: Choose a high-quality material for the cover, like leather or linen, for a luxurious feel.
- Binding: Look for albums with durable binding to ensure they last a lifetime.
6. Add Personal Touches
Adding personal touches makes your album unique. Here are some ideas:
- Memorabilia: Include items like your wedding invitation, a piece of the ribbon from your bouquet, or handwritten notes.
- Custom Design: Work with your photographer or a designer to create custom layouts and designs that reflect your style.
- Quotes and Lyrics: Add meaningful quotes, song lyrics, or vows to personalize your album further.
7. Review and Edit
Before finalizing your album, review it carefully. Here’s what to check:
- Spelling and Grammar: Ensure all captions and text are free from errors.
- Photo Quality: Check that all photos are high resolution and correctly edited.
- Flow: Make sure the album flows smoothly from start to finish.
Conclusion
Creating a stunning wedding photo album takes time and effort, but the result is a beautiful keepsake that will preserve your memories for years to come. By selecting your favorite photos, organizing them thoughtfully, and adding personal touches, you can create an album that tells the story of your special day in a way that’s uniquely yours. Enjoy the process and cherish the memories!
Happiness cannot be traveled to, owned, earned, worn or consumed. It is the spiritual.


